We’re showing here every single step to create an Apple developer account. Just follow our instructions carefully and take into account a waiting time of about 1 to 3 weeks to get this all done. You’ll be fine!

Step 1
Go to https://developer.apple.com/programs/enroll/
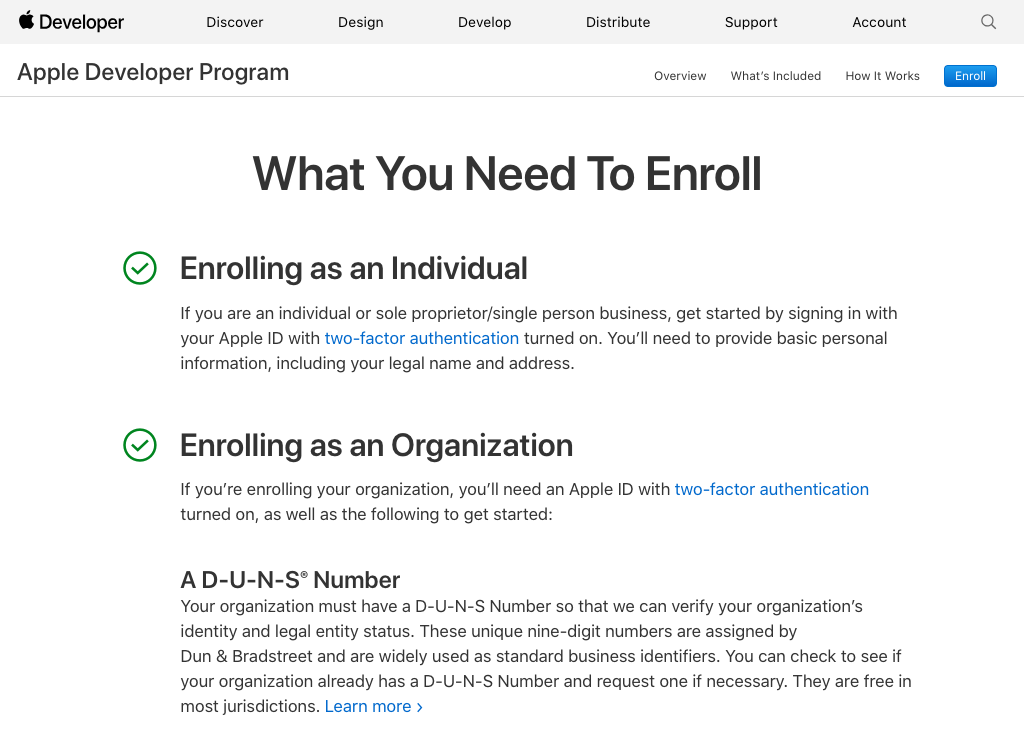
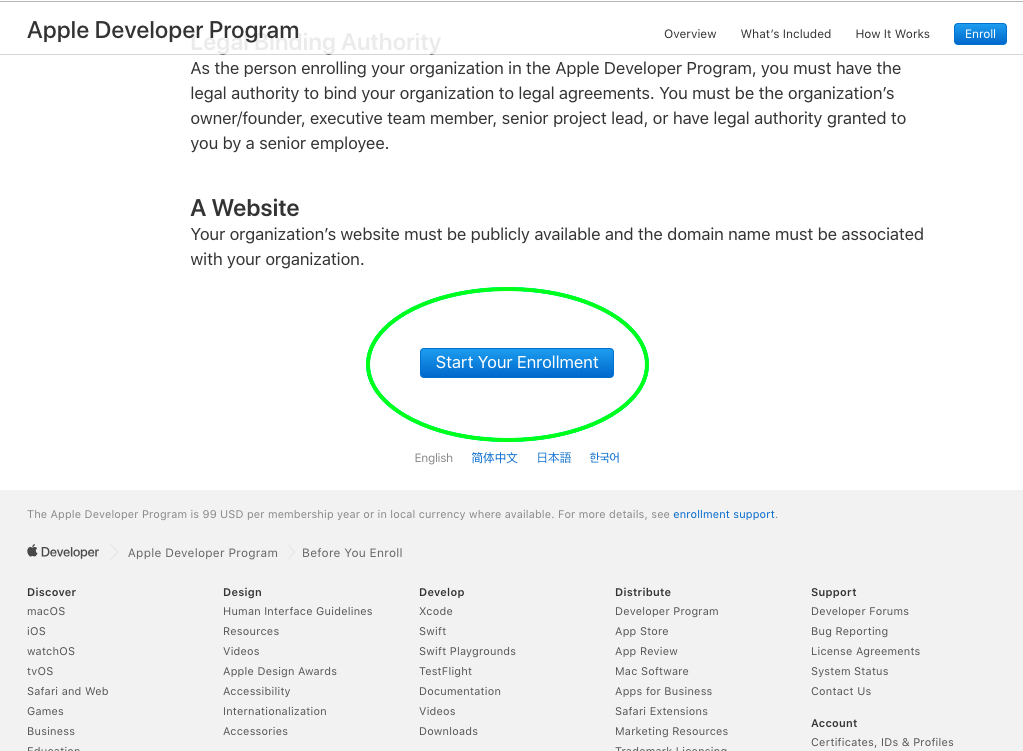
Step 2
Scroll down and click on ‘Start Your Enrollment’.
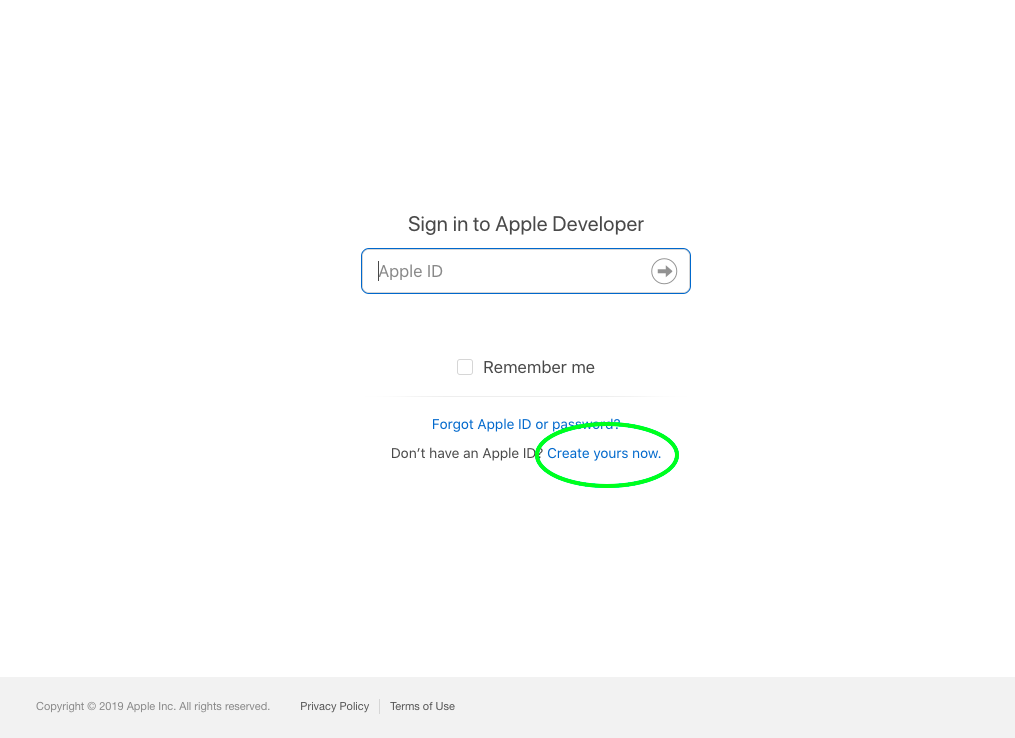
Step 3
- If you don’t have an Apple ID, do create one by clicking on ‘Create yours now’.
- If you already have an Apple ID, Sign in and jump to Step 9.
Important Note: if you already have a personal Apple ID, you can use it to create a developer account for your company. No need to go through the hassle of creating a new professional Apple ID.
Step 4
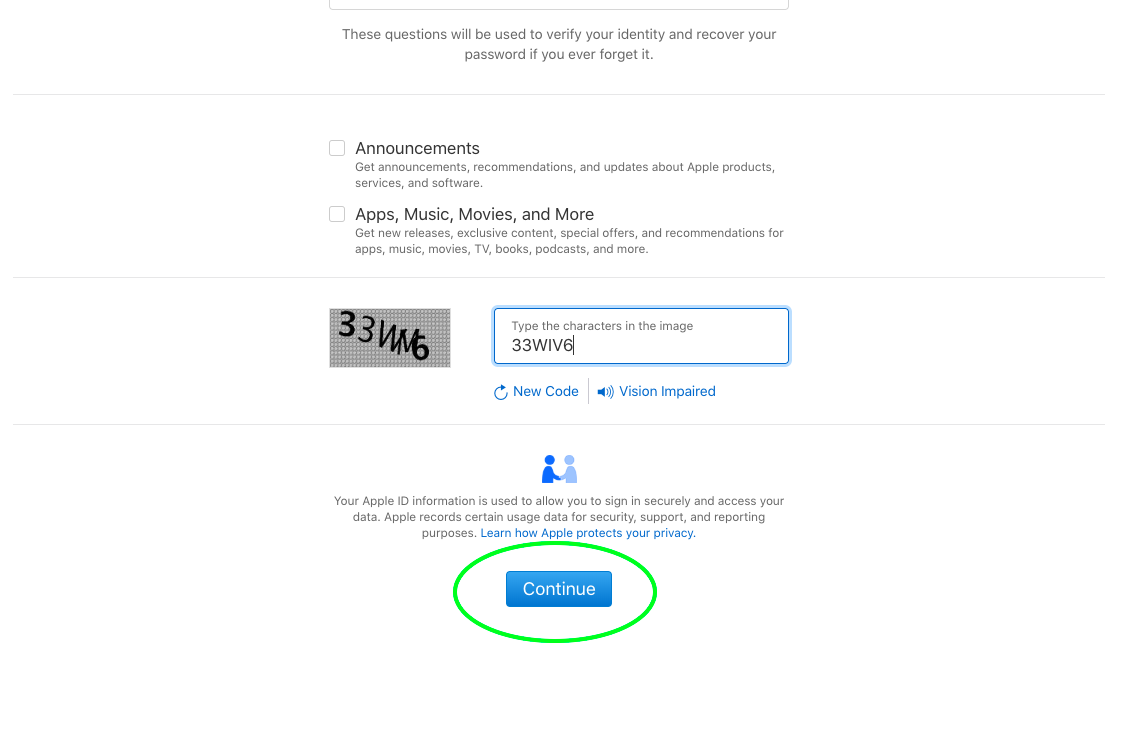
Fill in the form.
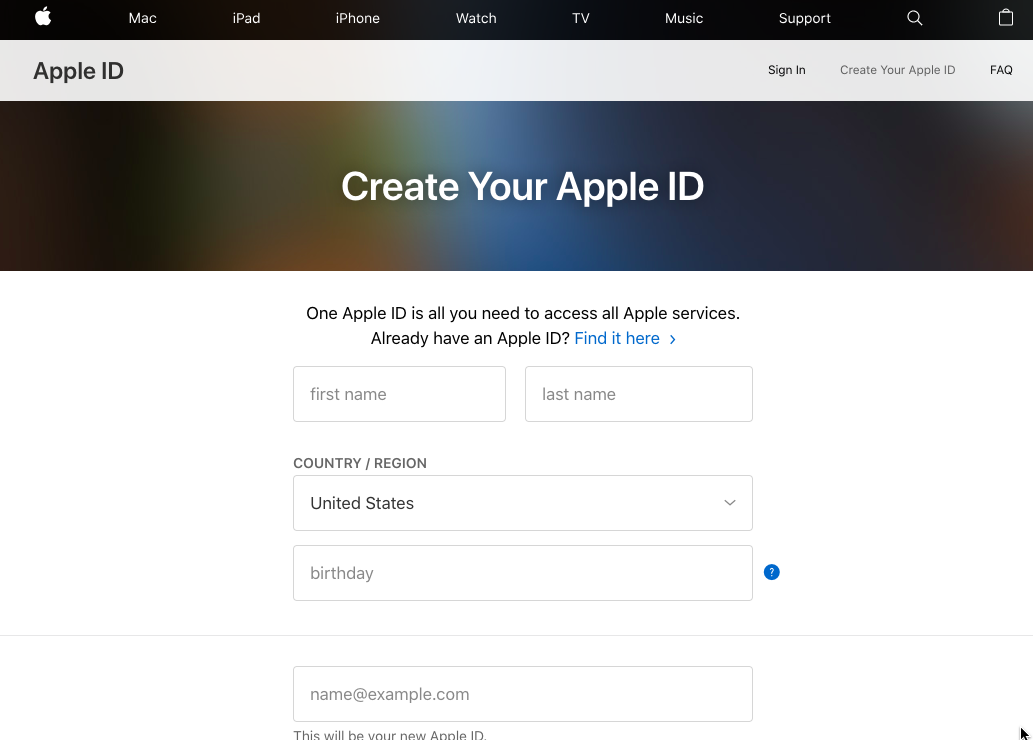
Step 5
Click on ‘Continue’ at the bottom.
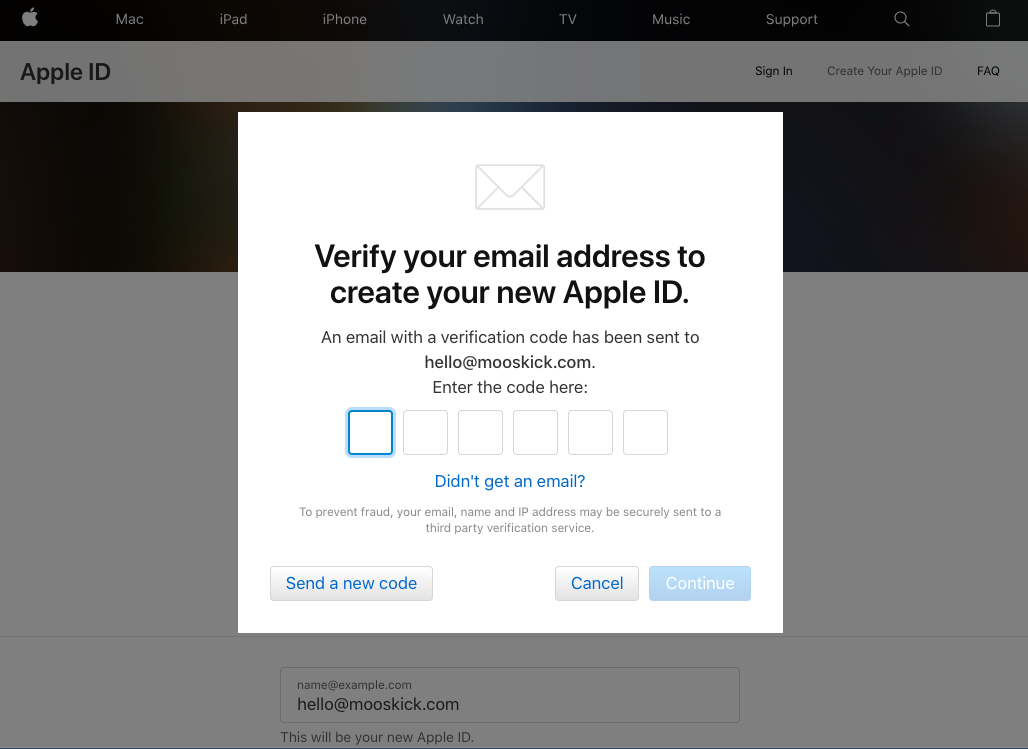
Step 6
Check your email and enter the verification code, then click on ‘Continue’.
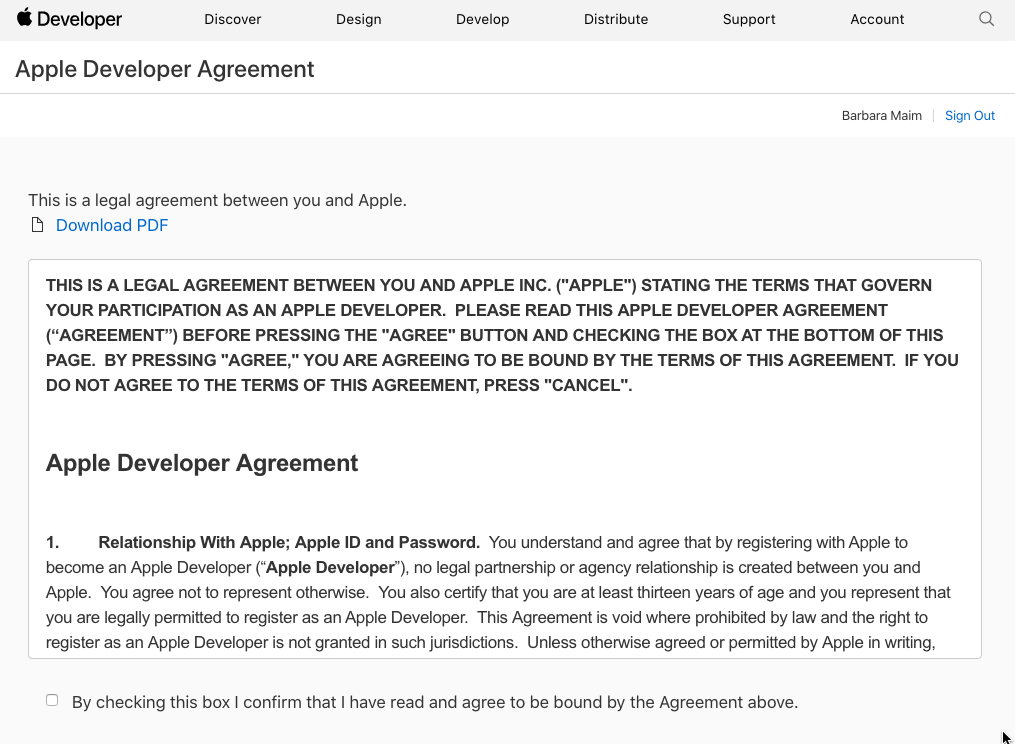
Step 7
Read Apple’s agreement.
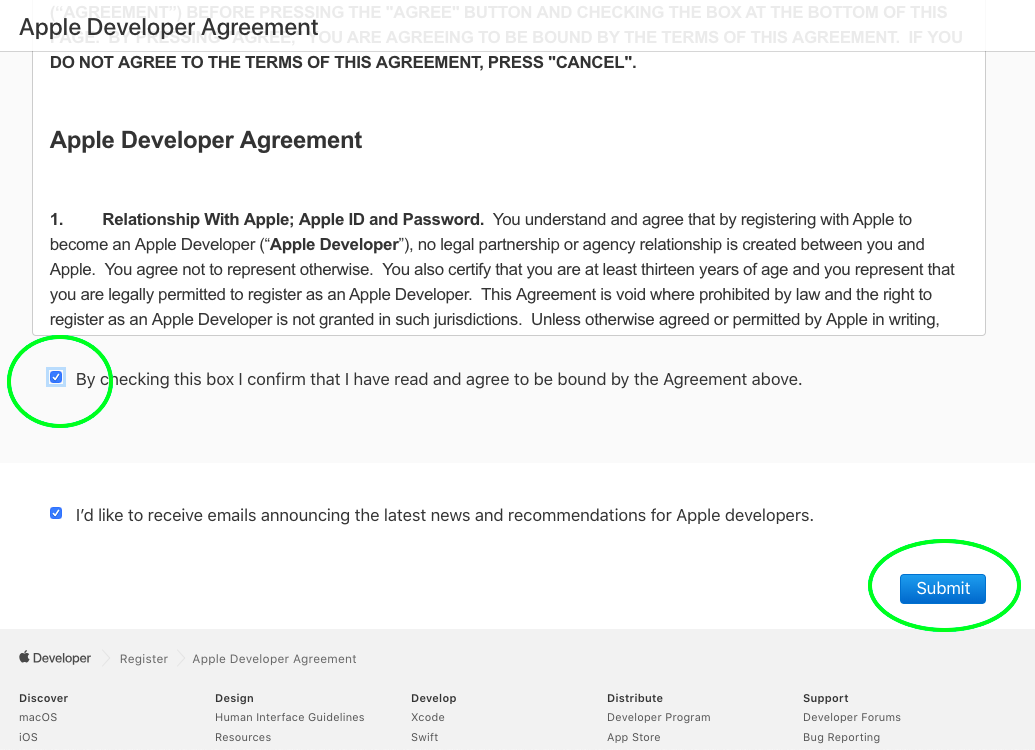
Step 8
Check the check box stating that you agree and click on ‘Submit’.
Step 9
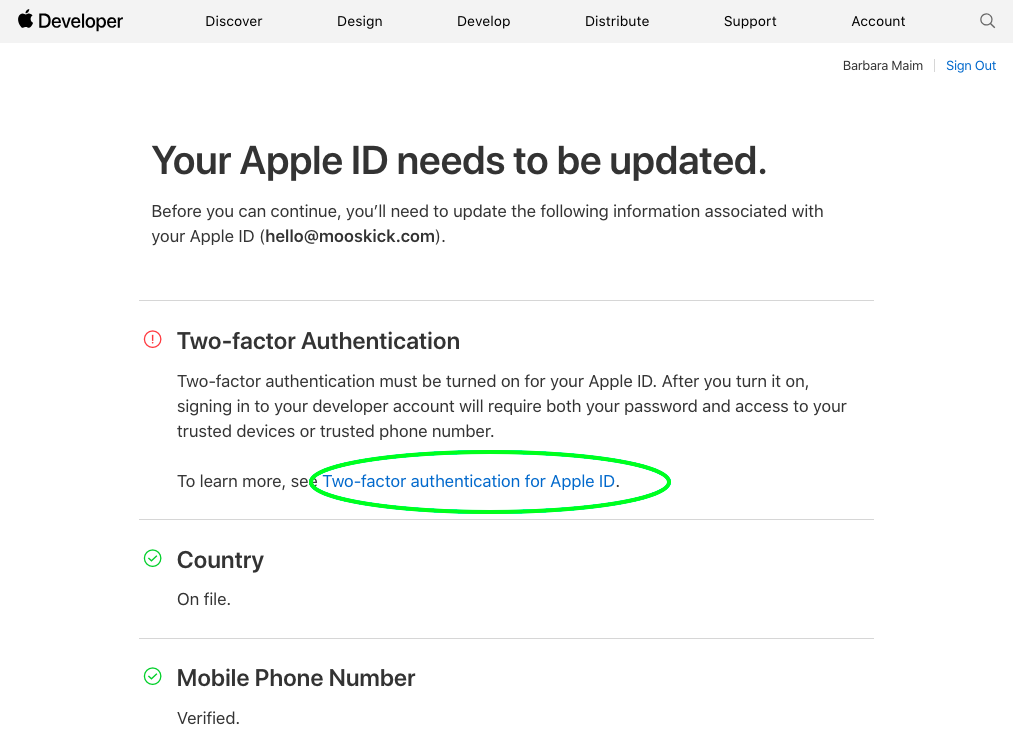
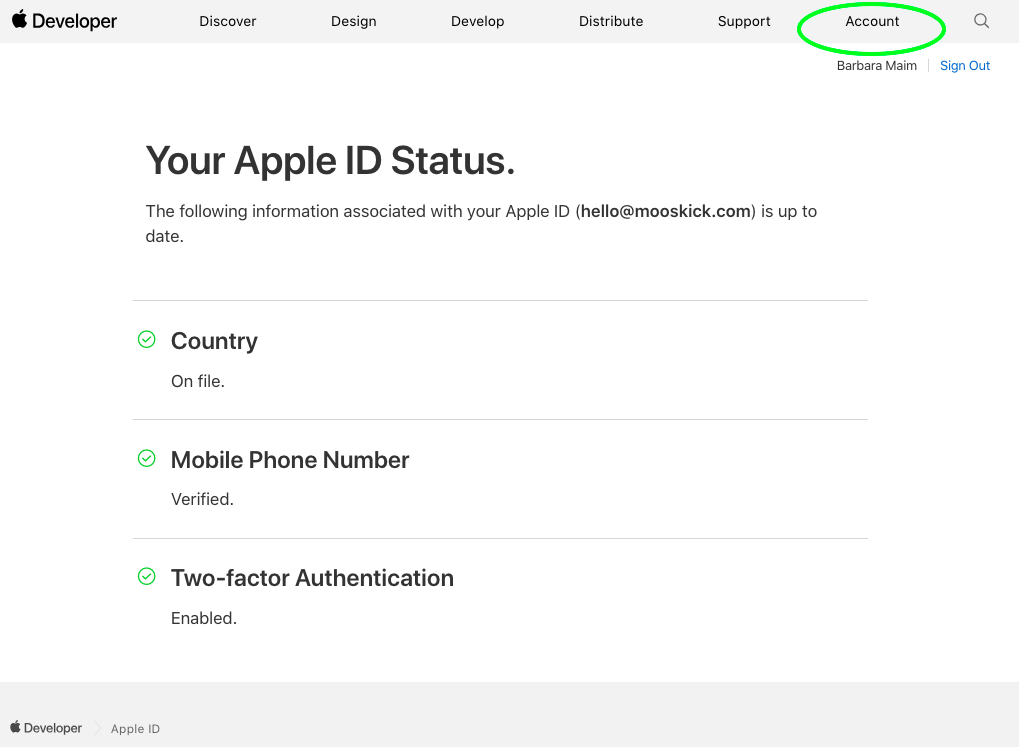
You now reach a control page that checks that your Apple ID has everything required to create a Developer Account.
- If Two-Factor Authentication is already enabled, you can jump to Step 12.
- If Two-Factor Authentication is not enabled, open the ‘Two factor authentication for Apple ID’ link in another tab.
Step 10
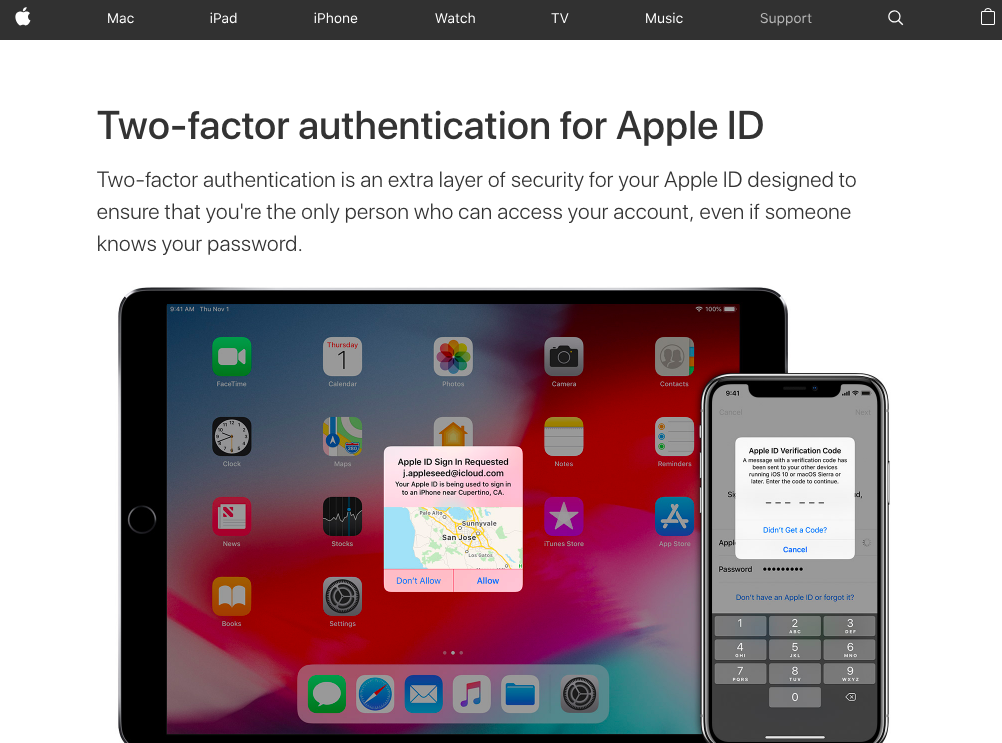
You reach the Two-Factor Authentication (2FA) explanation page. Scroll down until you see the instructions to set up 2FA.
Step 11
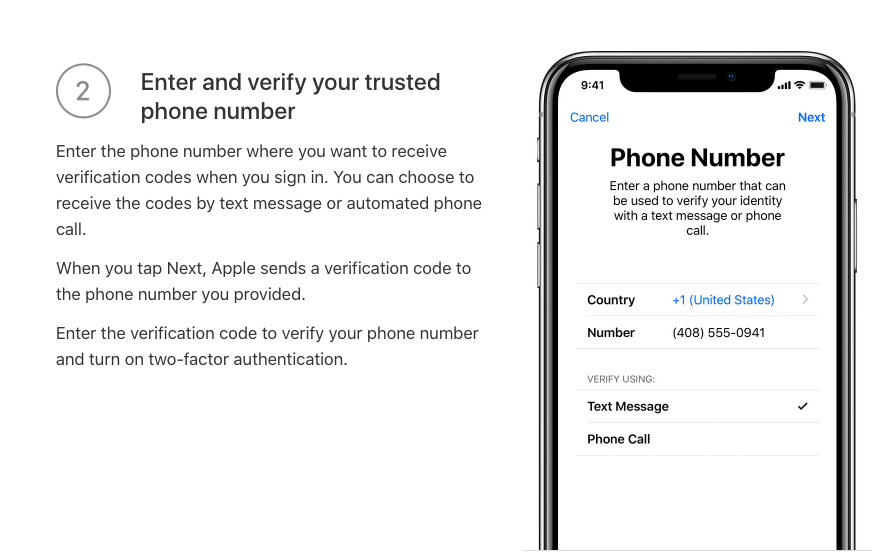
You have 2 options to set up 2FA.
1. From an iOS device (iPad, iPod, iPhone,…): before switching on 2FA from your device, make sure that you’re logged in on that device with the appropriate Apple ID. If you’re not, log out, then log in with the correct Apple ID and follow the instructions on the page.

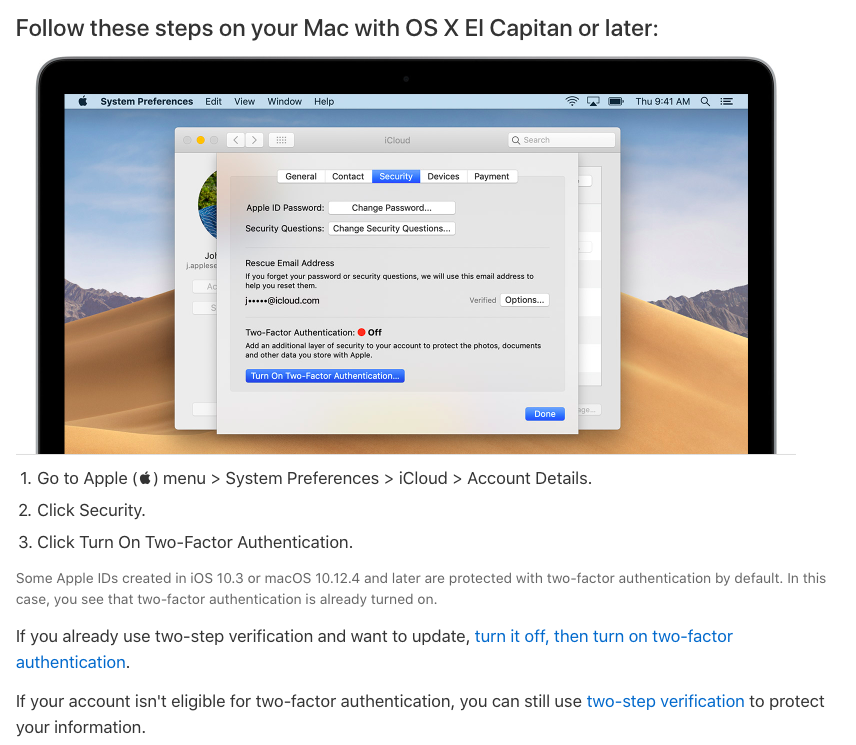
2. From a Mac running OS X El Capitan or later: before switching on 2FA from your Mac, make sure that you’re logged in on that Mac with the appropriate Apple ID. If you’re not, log out, then log in with the correct Apple ID and follow the instructions on the page.
Step 12
After successfully enabling 2FA, go back to your browser on the page your reached at Step 9 and refresh the page, everything should be green. Click on ‘Account’ at the top-right of the page.
Step 13
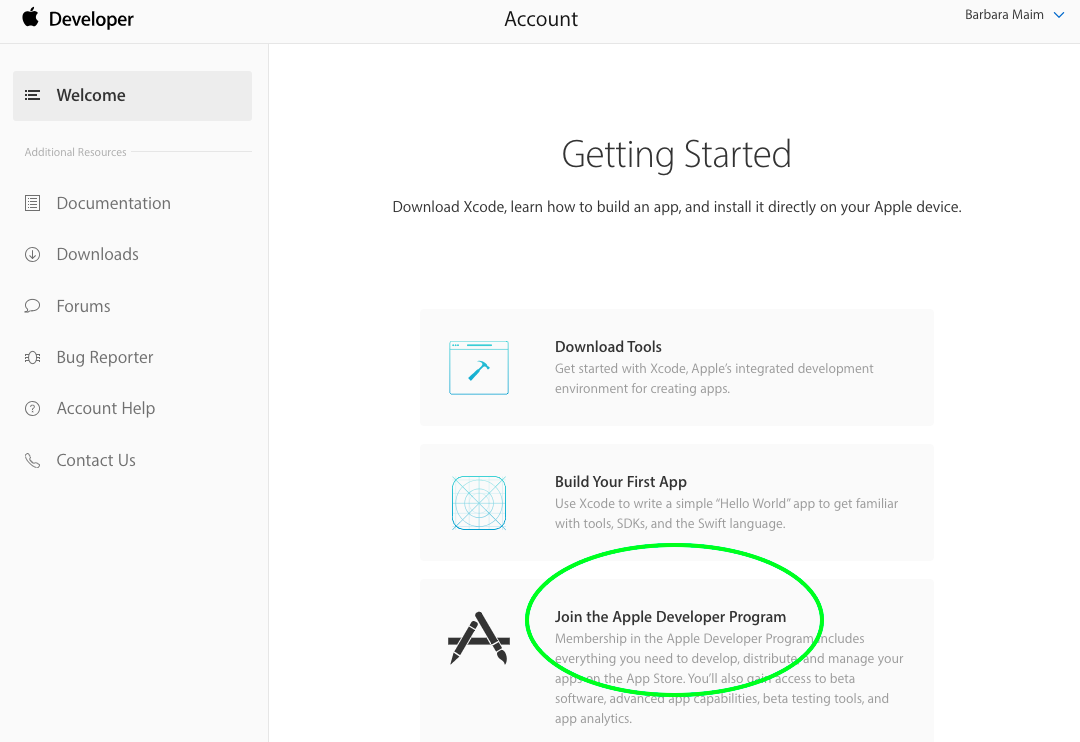
Click on ‘Join the Apple Developer Program’.
Step 14
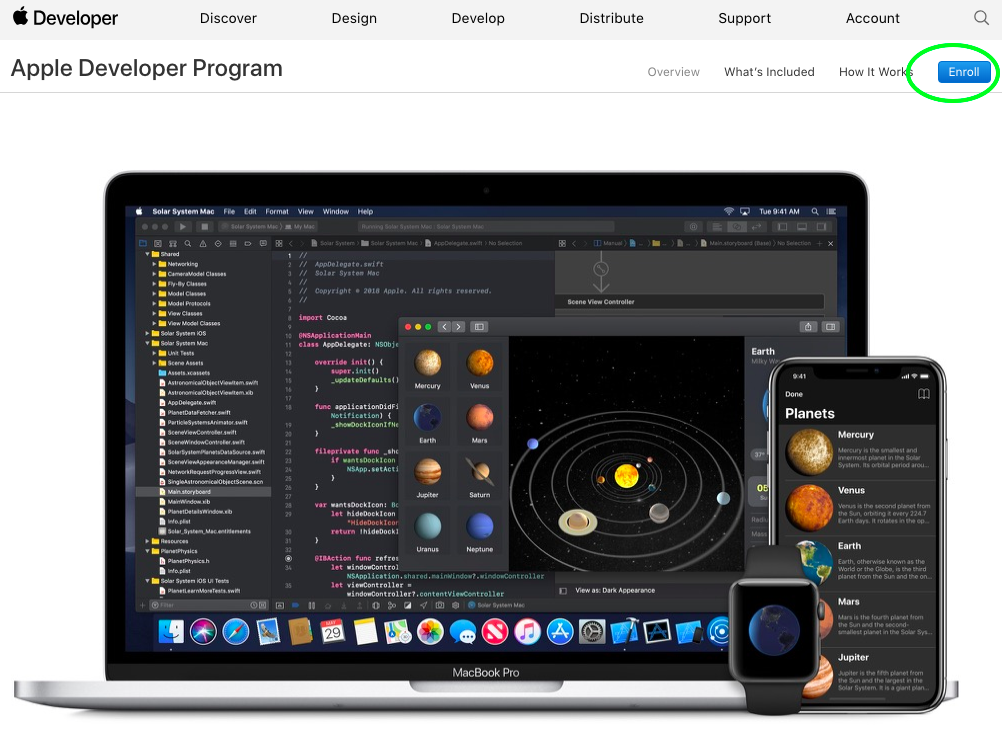
Click on “Enroll” at the top-right of the page.
Step 15
You’re back to the enrollment page, but this time, your Apple ID is all set up to proceed.

Step 16
Scroll down and click on “Start Your Enrollment”.

Step 17
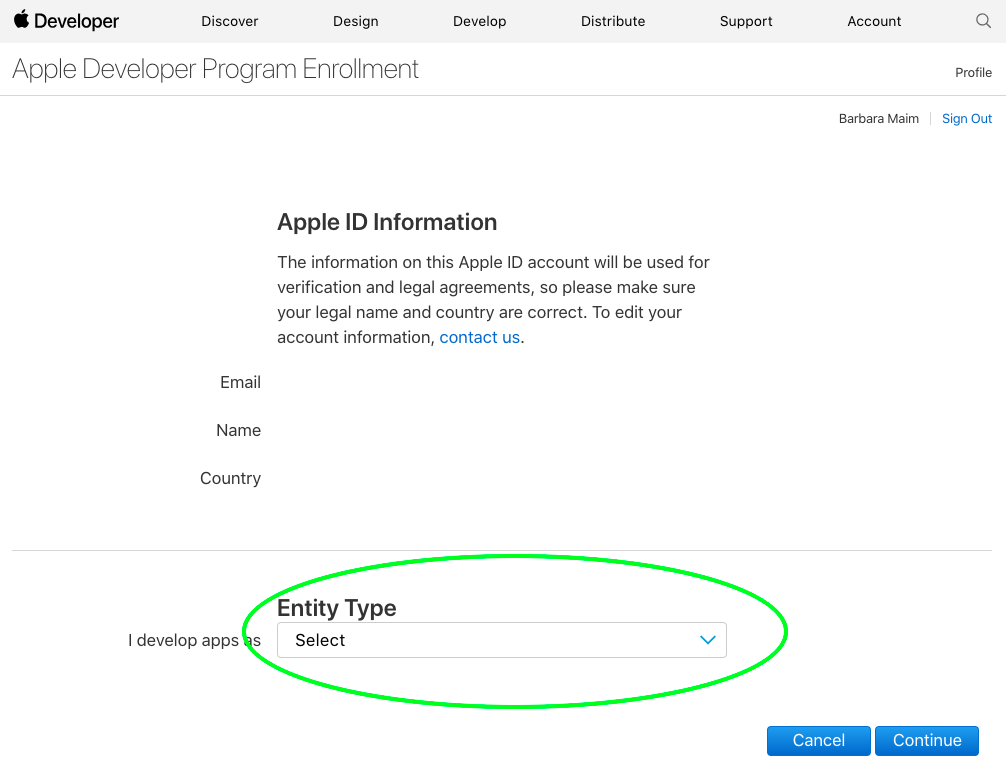
This time you reach a page asking your entity type. Do not select ‘Individual / Sole Proprietor / Single Person Business’. Instead, select any option that best represents your organization, then click on ‘Continue’.
Important Note: if you go for an individual account, you will not be able to grant us access your Apple Developer Account and we will not be able publish your app on the App Store for you.
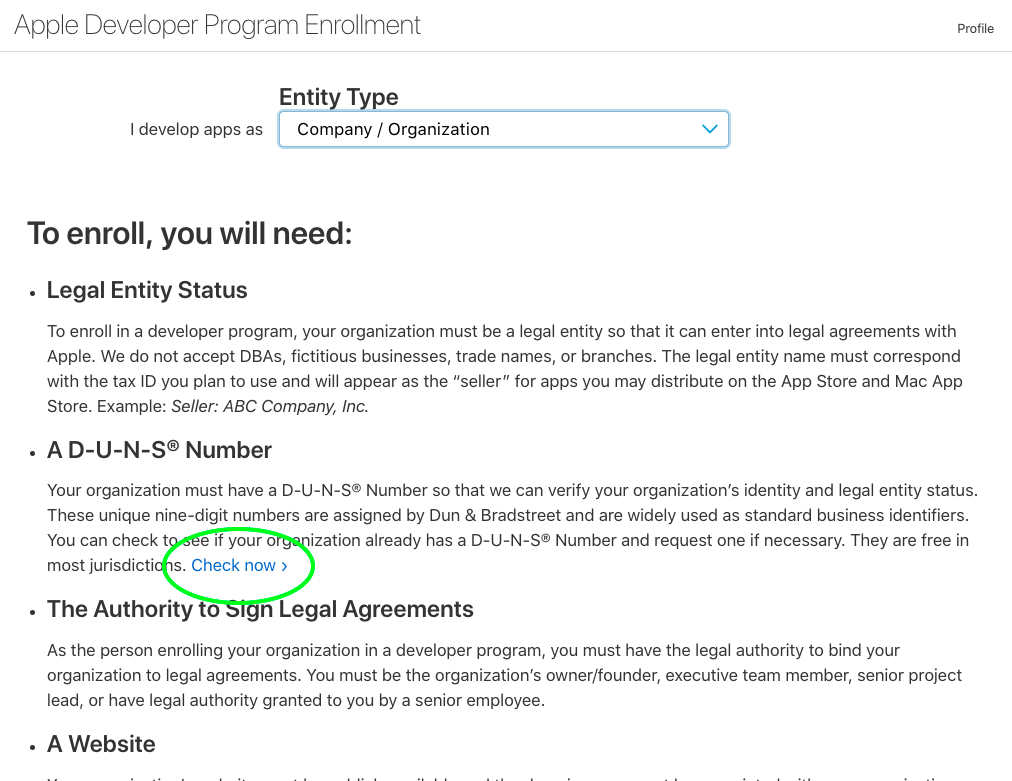
Step 18
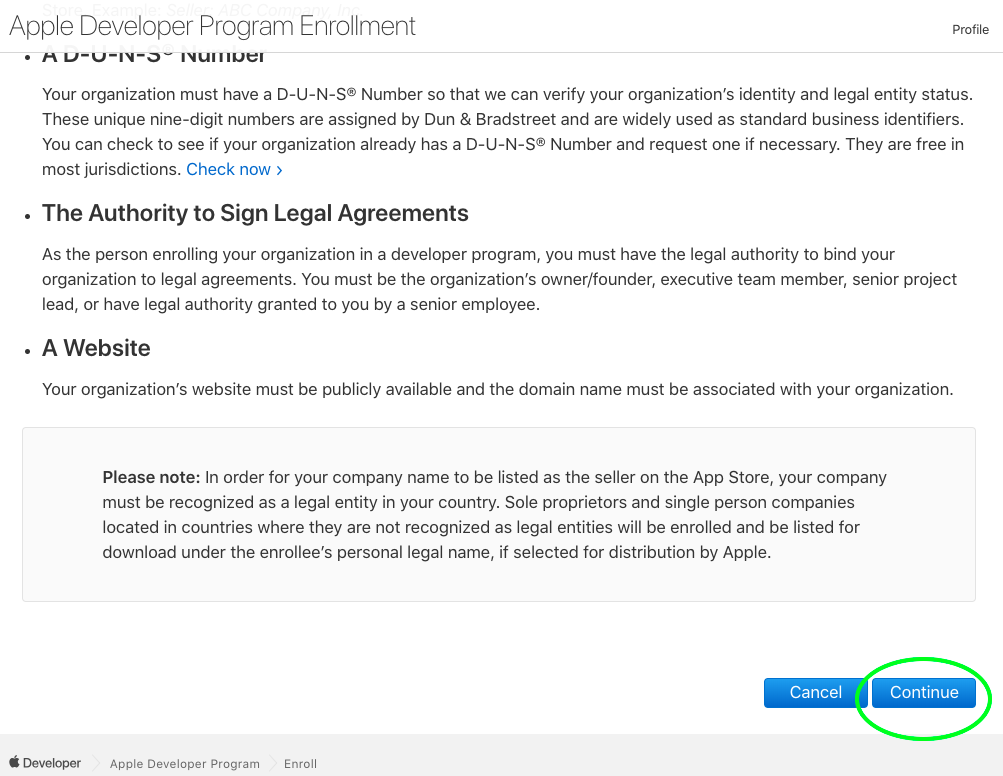
Apple provides a list of elements required to enroll. Make sure you comply.
- If you have a DUNS number, jump to Step 26.
- If you do not have a DUNS number, click on the Check now link and proceed with Step 19.
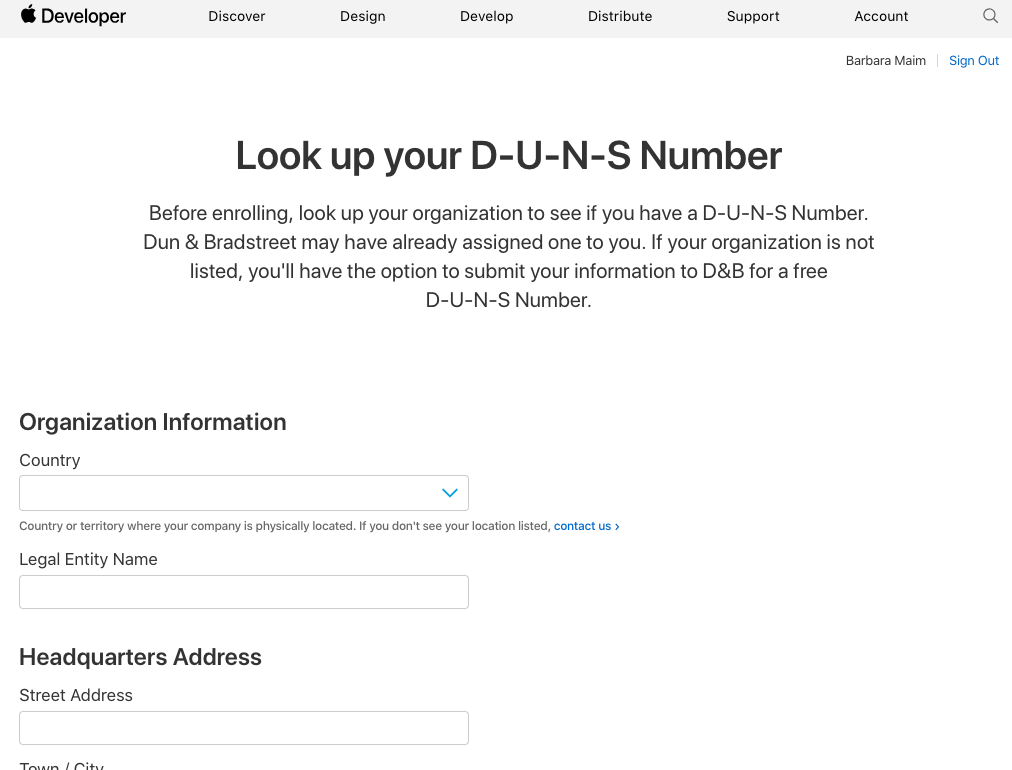
Step 19
Even though you don’t have a DUNS number, do fill in the form to look up your company.
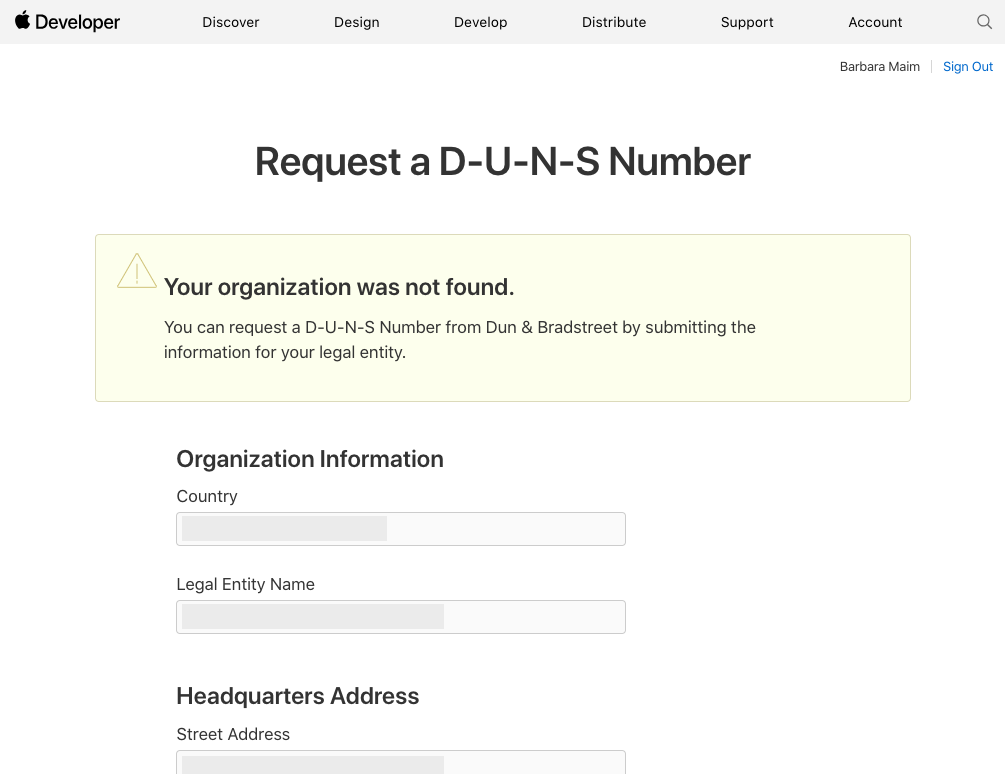
Step 20
You reach a notification page saying ‘Your organization was not found’, which is normal, since you don’t have a DUNS number yet.
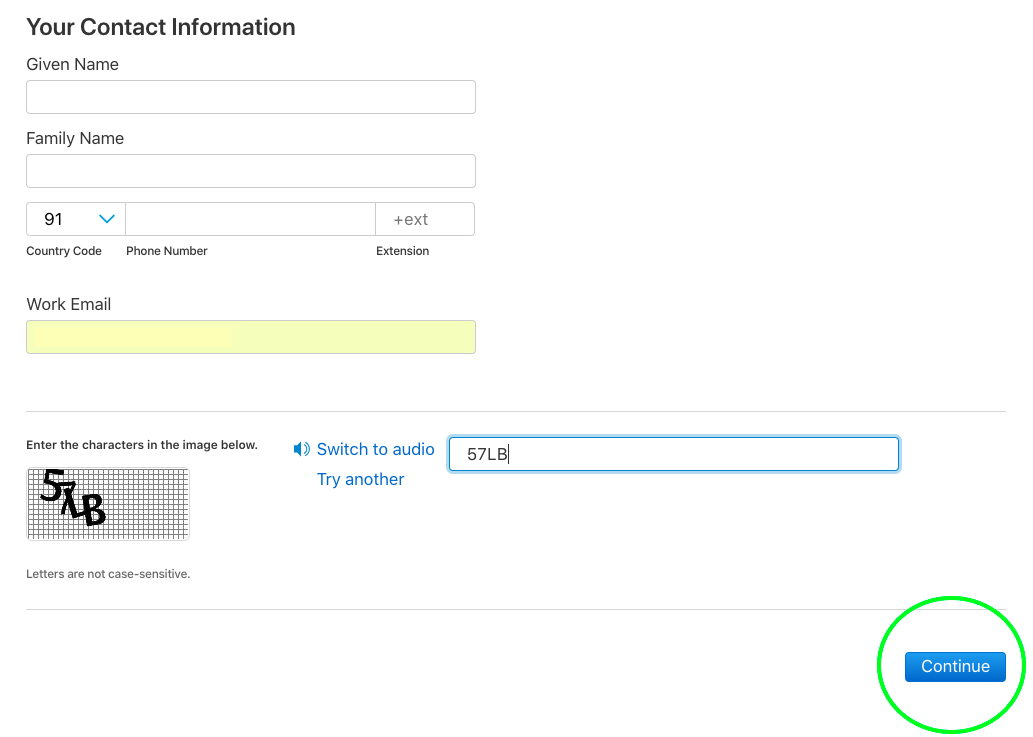
Step 21
Fill in the details below the notification and, click on ‘Continue’ at the bottom.
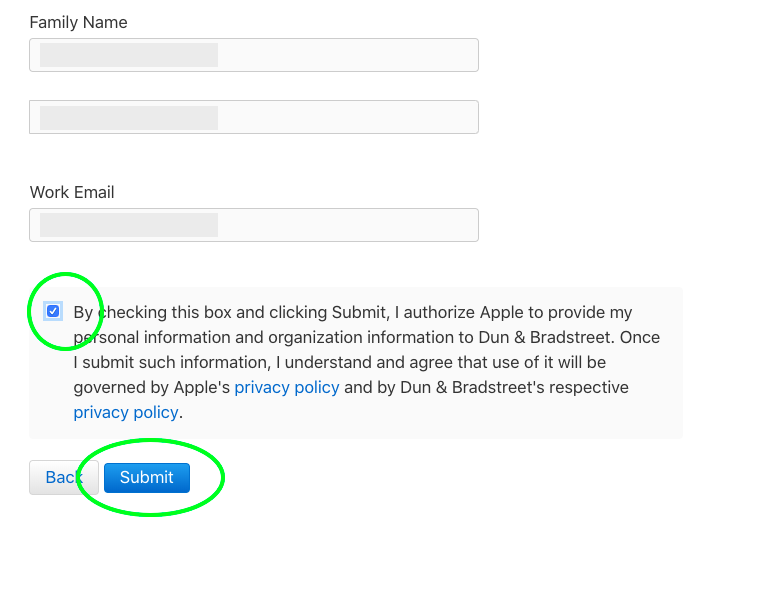
Step 22
Verify that all the information is acurate, check the check box at the bottom and click on ‘Submit to Dun and BradStreet’.
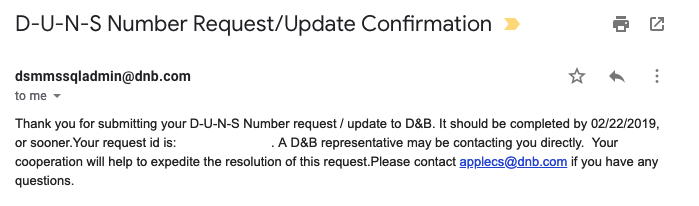
Step 23
Almost immediately after submitting the form, you receive an acknowledgement email from Dun and BradStreet. You need to wait for about 7 days to receive your DUNS number.
Step 24
After 5 to 7 days, you receive an email with your DUNS number. The email is auto-generated and a bit cryptic, because it’s missing many whitespaces. Do not confuse your request ID with your DUNS number. A DUNS number is a 9 digit number.

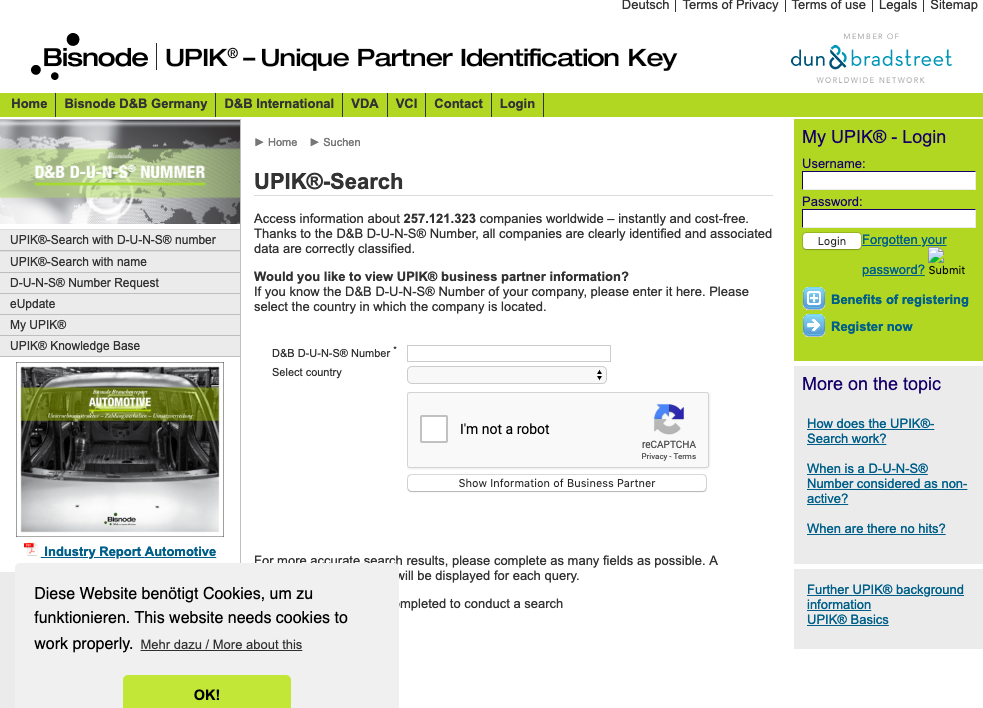
Step 25
Wait for 14 days, then check if your DUNS number is activated by using this website’s look up form: simply enter your DUNS number and country to retrieve your company’s details as per Dun and BradStreet’s database.
Step 26
Go back to your browser on the page you left at Step 19. Scroll through the list of required items again and make sure you comply. Then click on ‘Continue’.
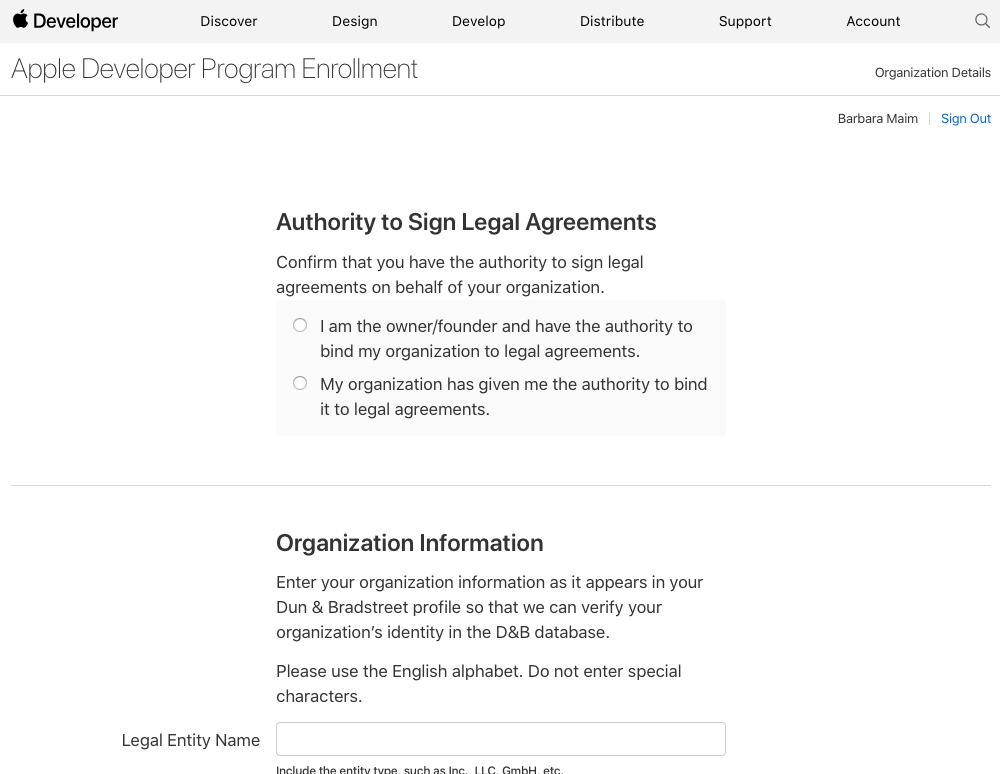
Step 27
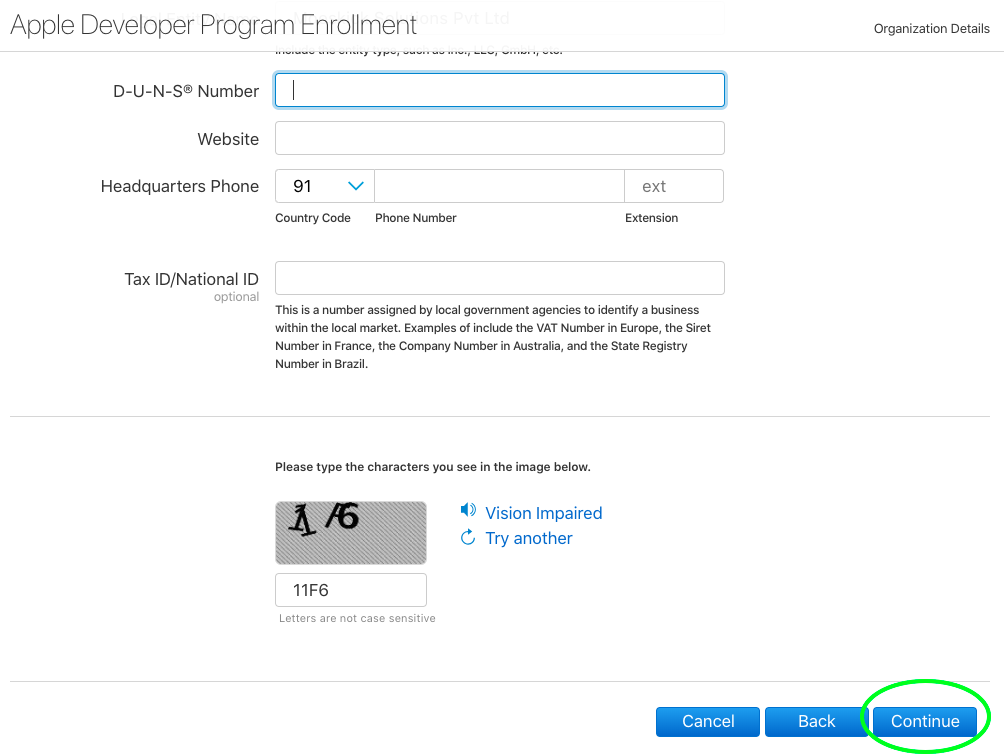
You reach a new form. Fill it in.
Important Note: Make sure to write your company name exactly as it is on Dun and BradStreet’s database (look it up here if you need to), or Apple will not be able to find it. and click on ‘Continue’ at the bottom.
Step 28
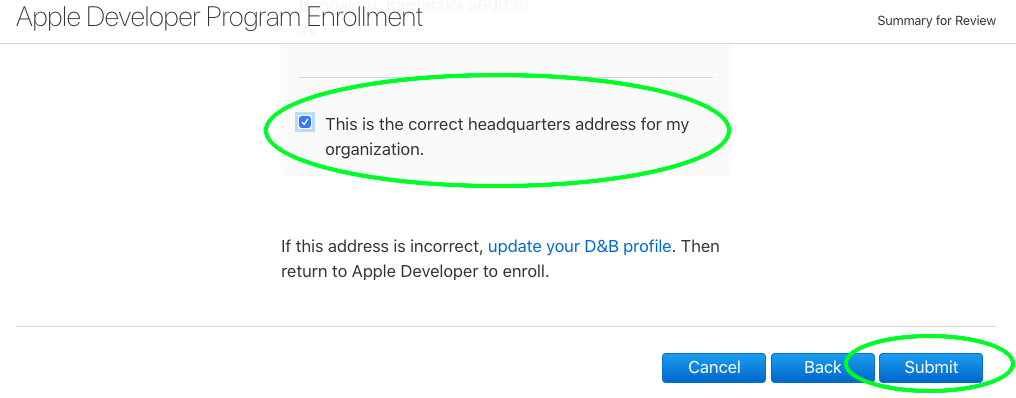
Verify that all the data about your company retrieved by Apple through your DUNS number is correct and confirm your business address. Click on Submit.
Step 29
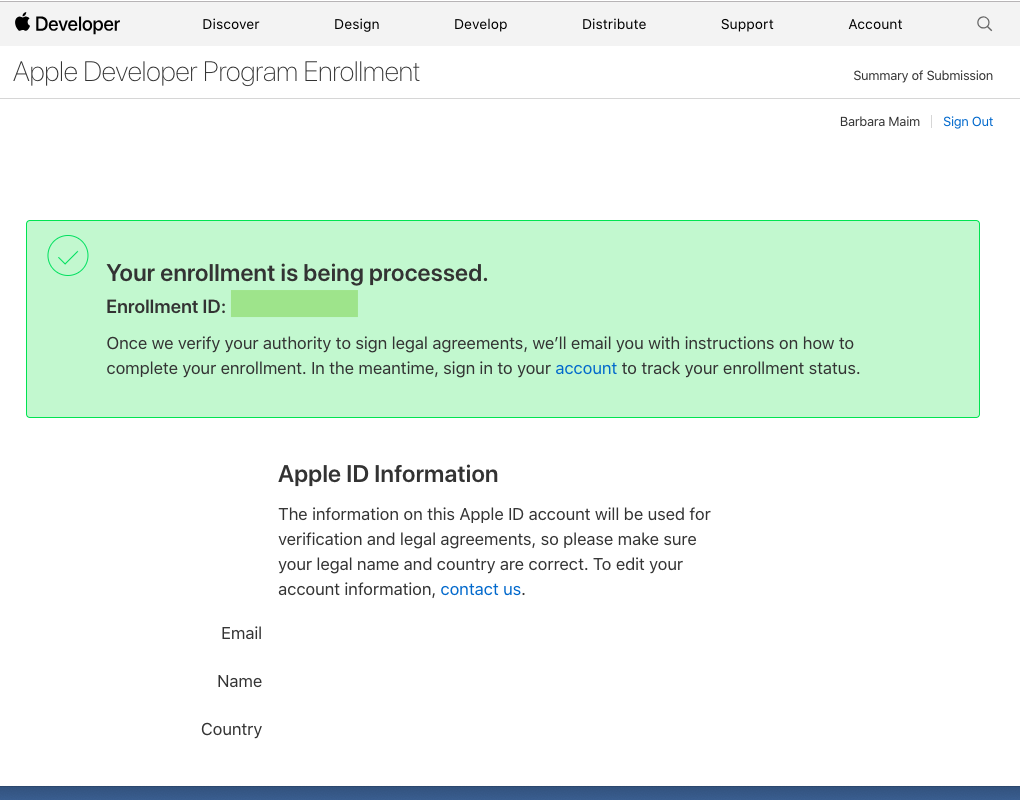
You reach the enrollment confirmation screen and receive a confirmation email.
Step 30
Wait for a few days while Apple verifies that you have the required authority to act in the name of your organization. You can check the status of your enrollment at all times from https://developer.apple.com/account.
Important Note: They may call the contact person to check that the company name is correct and that you have the authority to sign the agreement with Apple for the company.
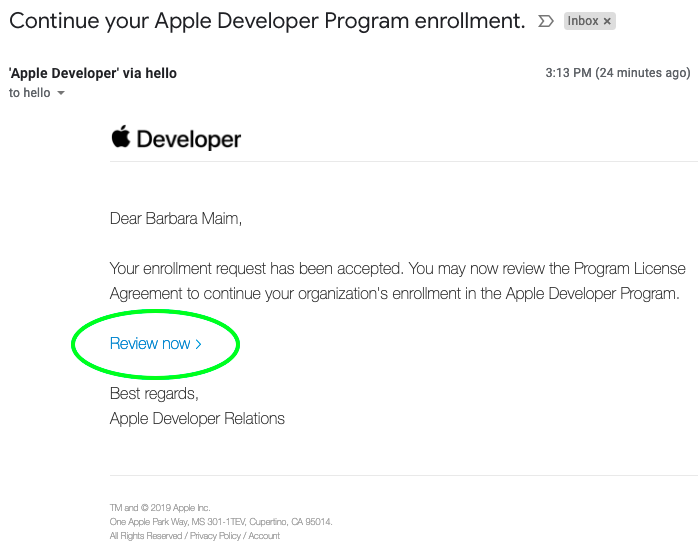
Step 31
Once your enrollment request is accepted, you receive an email to continue your enrollment. Click on the ‘Review now’ link in the email.
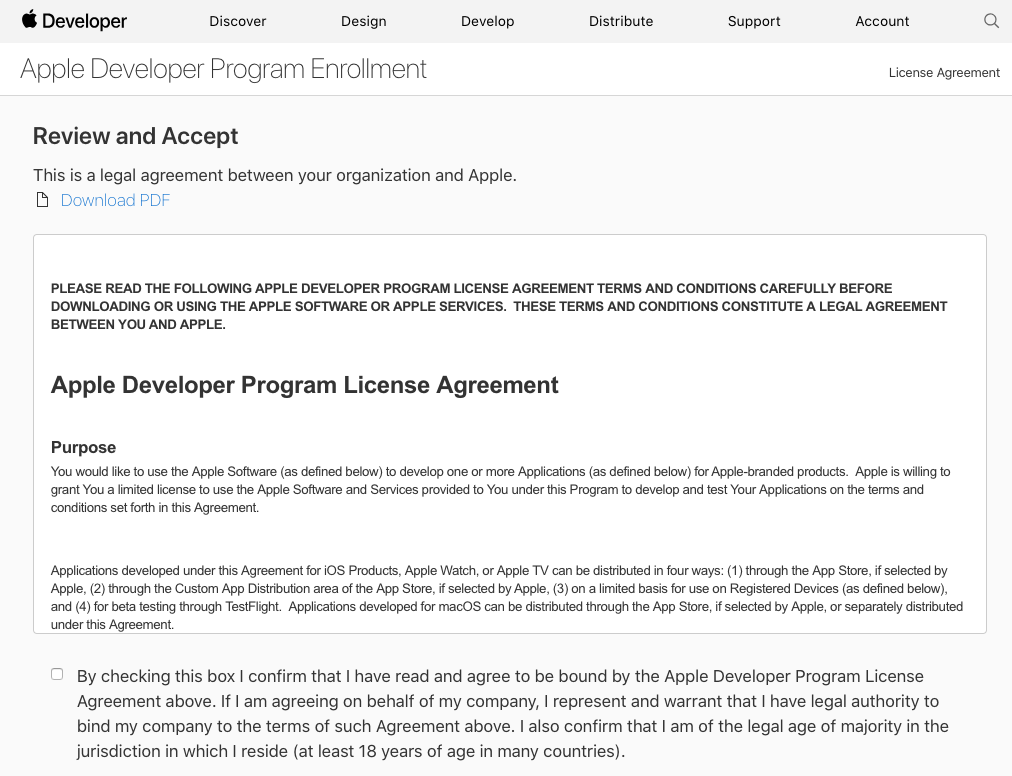
Step 32
You reach the agreement page. Read it.
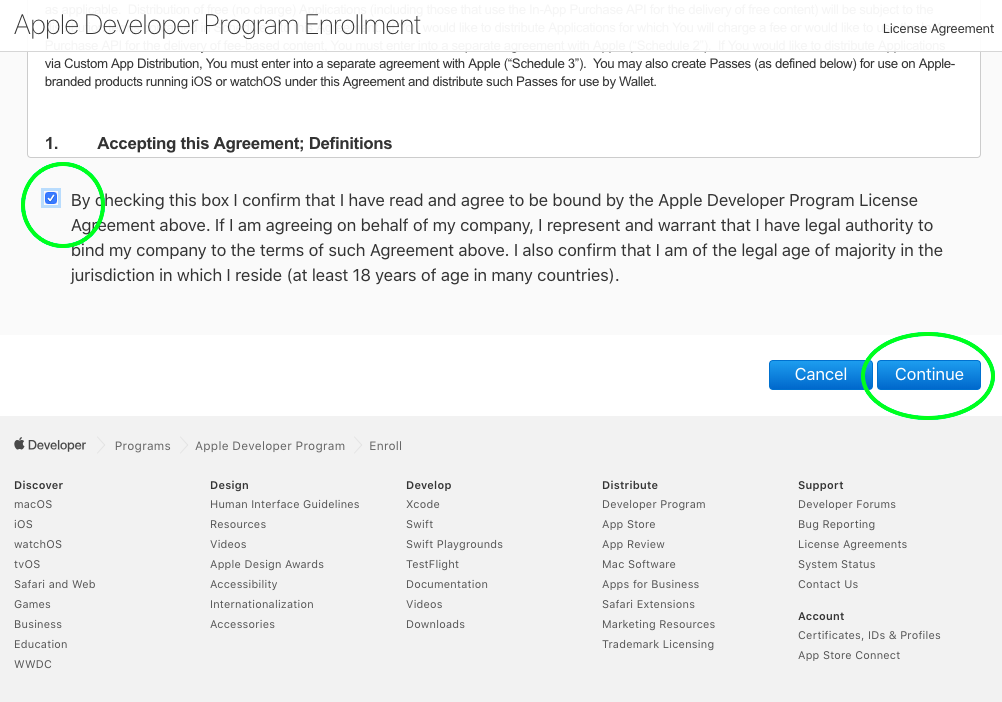
Step 33
Scroll down, check the check box and click on ‘Continue’.
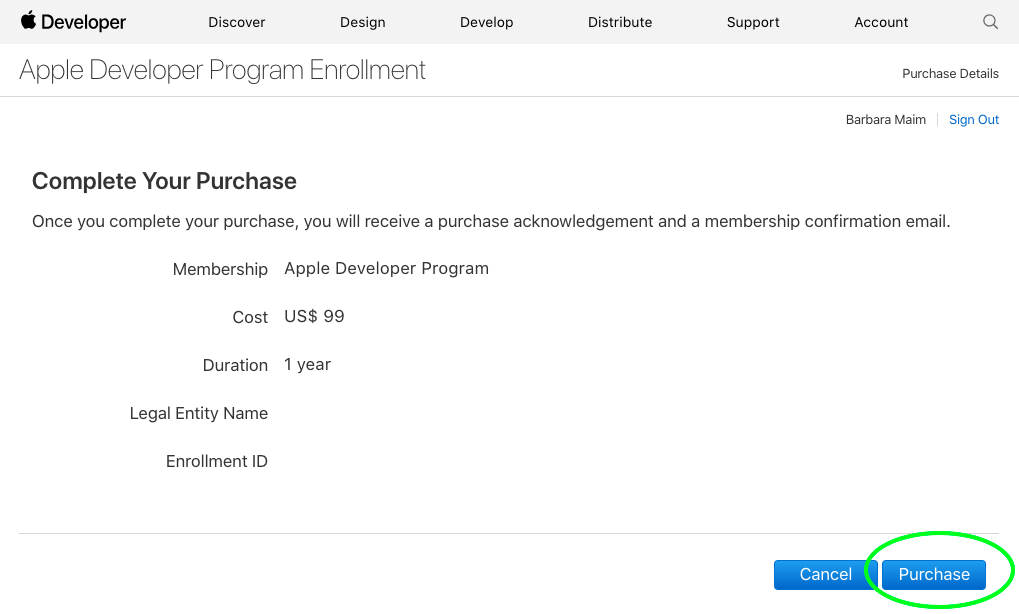
Step 34
Get your credit card ready and click on ‘Purchase’.
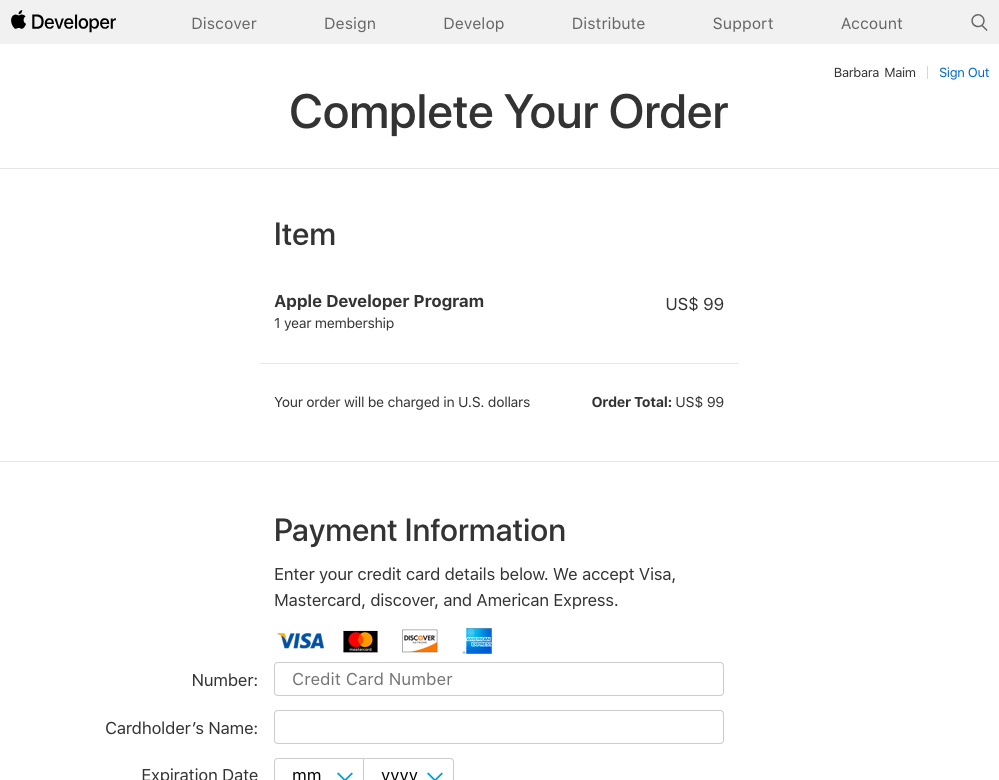
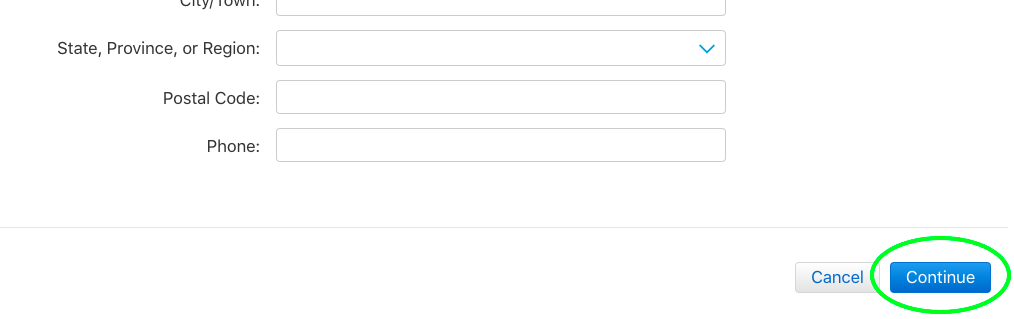
Step 35
Enter your credit card detail and click on ‘Continue’ at the bottom.
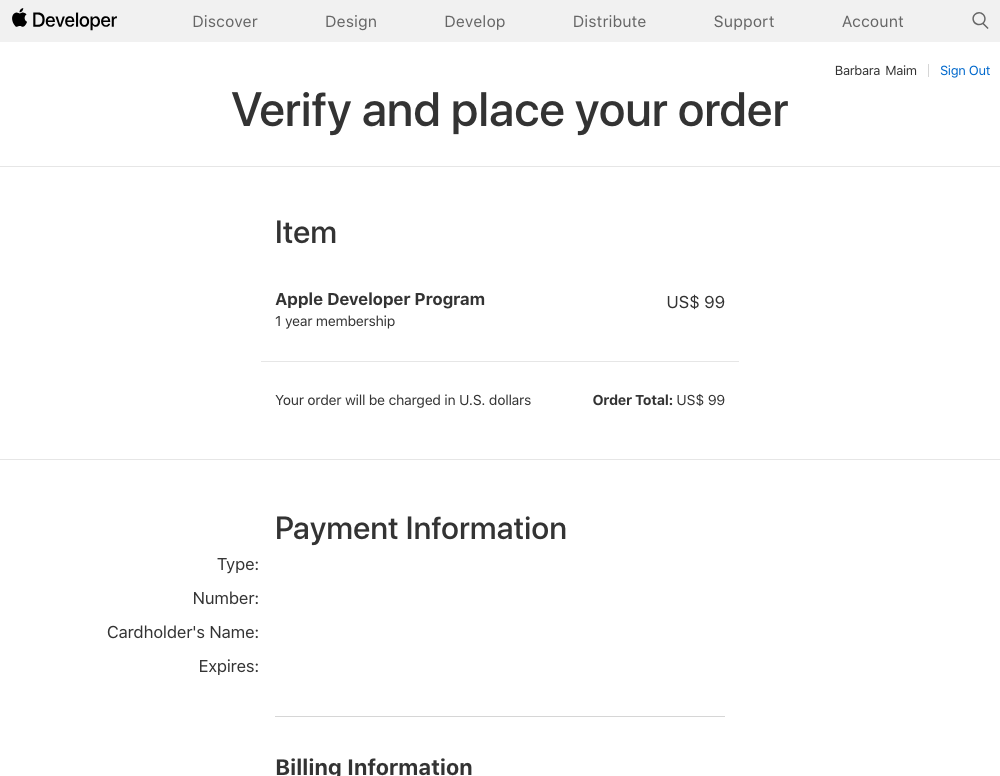
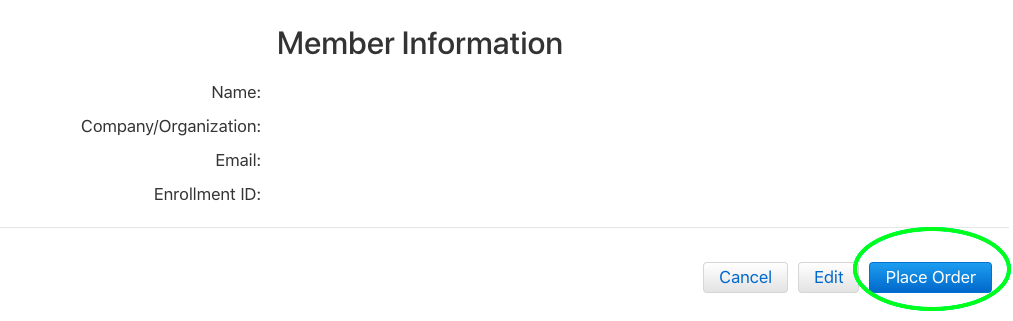
Step 36
Verify your details, scroll to the bottom and click on ‘Place Order’.
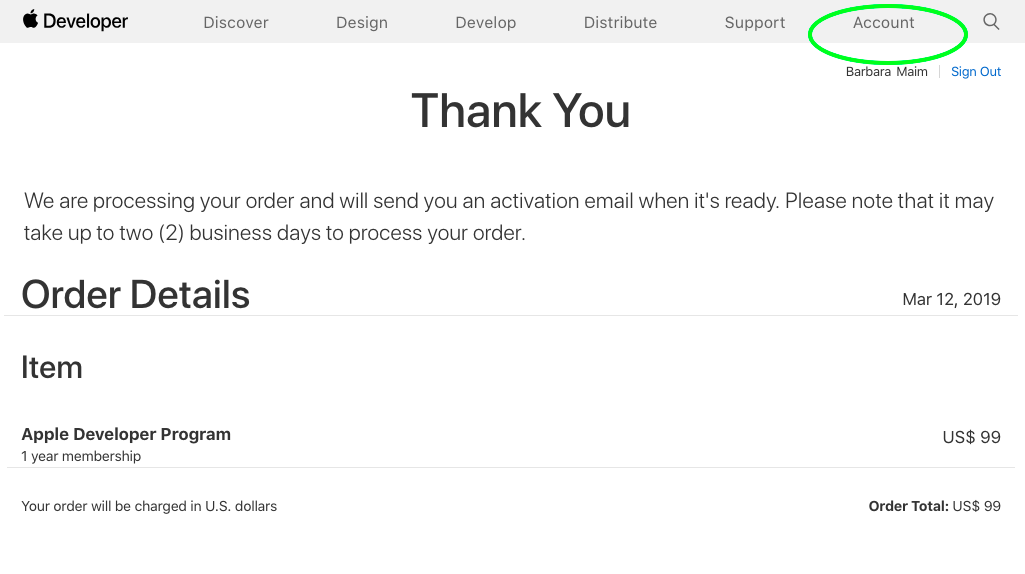
Step 37
Done! Wait for a couple of days and then click on your ‘Account’ at the top-right.
That was easy wasn’t it?